Render Fun tutorial series · Lesson 6 / 10
Render Fun Tutorial 6: Lamps, Night Interiors and the Light Mixer
Daylight is only half the story. This lesson lights a bedroom at night with lamps, tunes their light and mixes every light of the scene, even after the render is done.
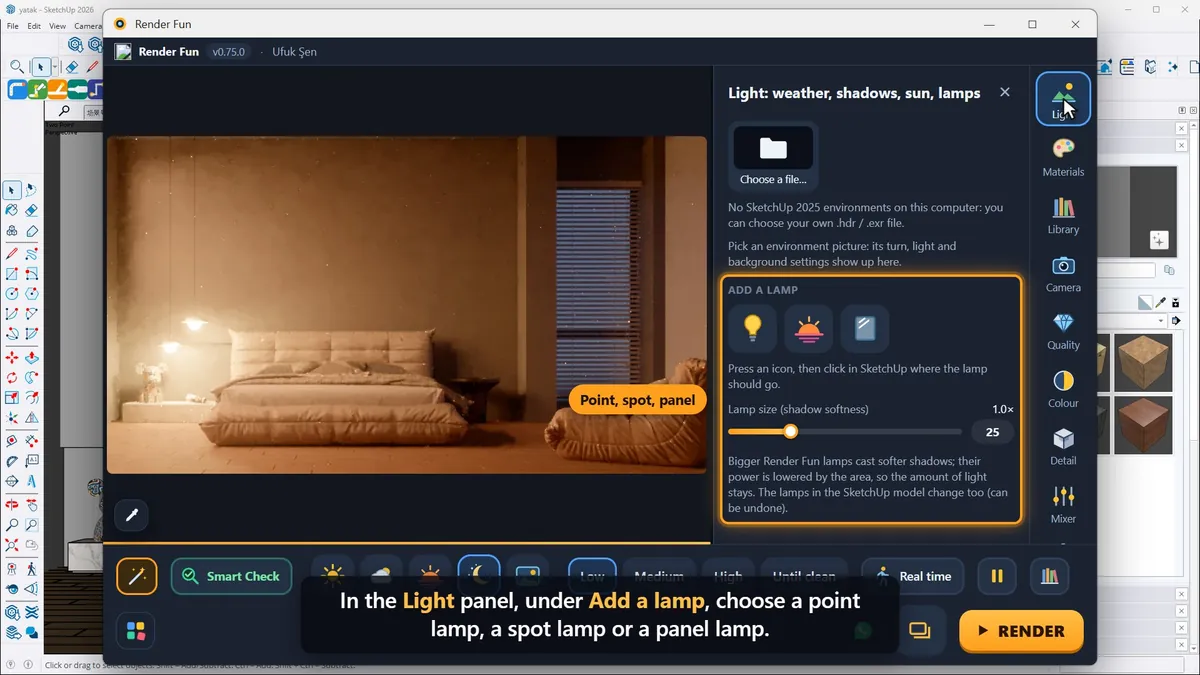
Add lamps
With only two pendants on, all the light comes from one corner. The "Interior · night" ready scene notices that and suggests adding lamps. In the Light panel, under "Add a lamp", choose a point, spot or panel lamp, then click the ceiling in SketchUp wherever a lamp should go; each click places a lamp that points down. The lamps are hidden in the render, so only their light shows.
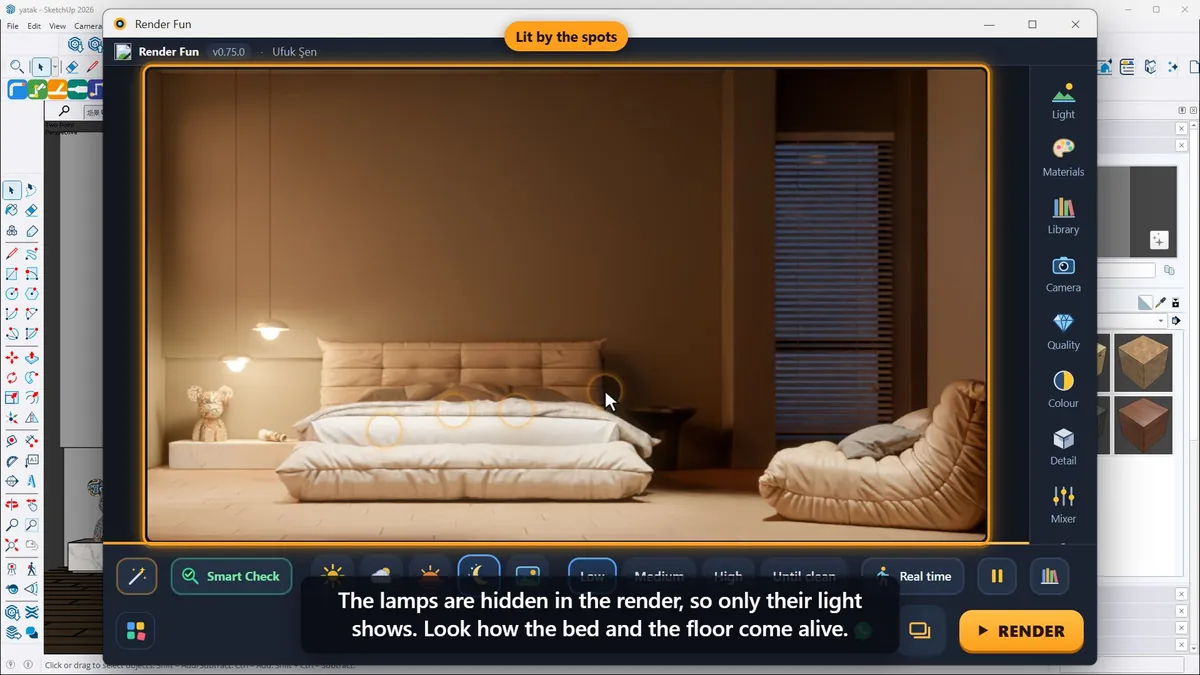
Power, beam, colour and size
- Right-click a lamp in SketchUp to set its power and the width of its beam.
- Paint the lamp with SketchUp’s Paint Bucket to change its colour; the library has ready light colours from candle warm to daylight cool.
- Lamp size makes all lamps bigger: shadows get softer and the amount of light stays the same.
- Light distribution shapes the beam: a narrow spot, a downlight, a wide flood, a wall washer or the maker’s own IES file.
- Surfaces can give light too: give a lampshade the Light kind with its own power.
The light mixer
The Mixer lists every light of the scene: the sun, the sky and each group of lamps. Dim a group, boost another or switch one off; it works at once and even after a finished render. "Put everything back" returns all lights to how they were, and Glow in the Colour panel adds a soft halo around bright lights, like a real camera lens.
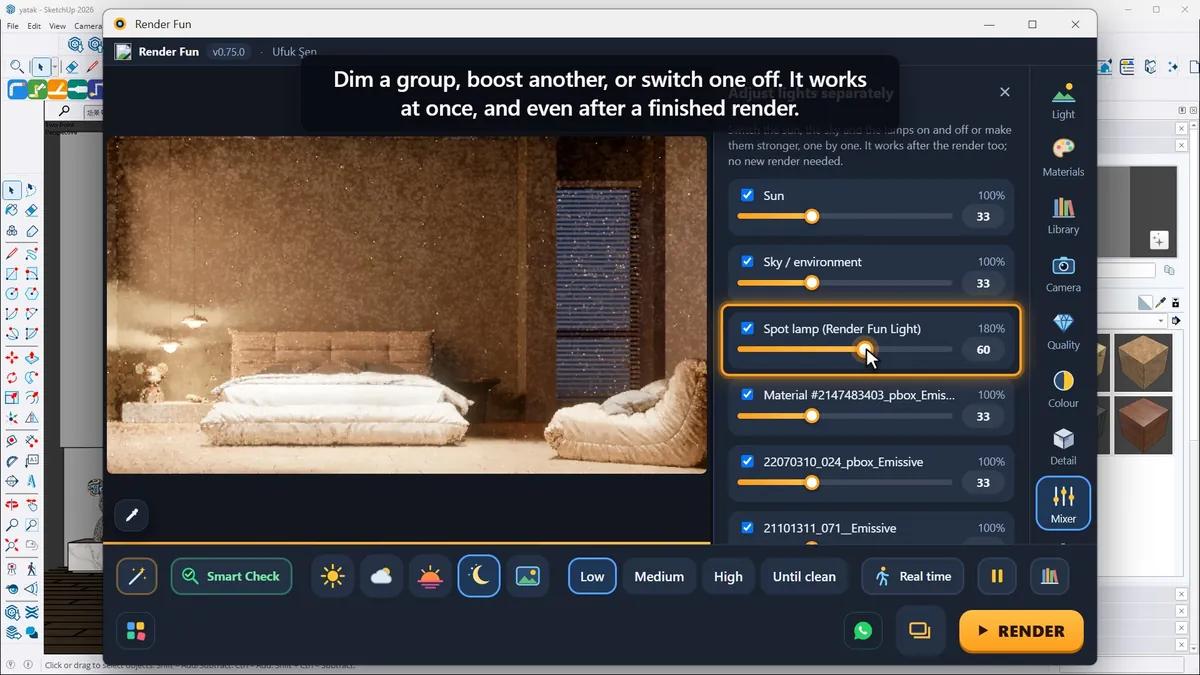
Next: Lesson 7, quality, noise and resolution.
Frequently asked questions
How do I light an interior at night in SketchUp?
Pick the "Interior · night" ready scene, then add point, spot or panel lamps where the real fixtures are.
Can I use IES files?
Yes: choose an IES file under Light distribution.
- 1. Install and first render
- 2. The interface: what is where
- 3. Camera and composition
- 4. Sun, sky and HDRI
- 5. Materials
- 6. Lights and the light mixer
- 7. Quality, noise and resolution
- 8. Colour, detail and final look
- 9. Plants, water and atmosphere
- 10. Final output and workflow