Render Fun tutorial series · Lesson 1 / 10
Render Fun Tutorial 1: Install the Plugin and Make Your First Render in SketchUp
Your first render should take minutes, not an evening of settings. In this first lesson you install Render Fun, open its window next to SketchUp and save a finished picture, without leaving SketchUp.
Step 1: install Render Fun
- Download the free .rbz file from the download section.
- Close SketchUp. SketchUp must be closed while you copy the files.
- Open the .rbz with WinRAR or WinZip (an .rbz is a zip archive).
- Extract all its files into the Plugins folder of your SketchUp version:
%APPDATA%\SketchUp\SketchUp 2026\SketchUp\Plugins(change the year to your version). - Start SketchUp. Render Fun appears in the Extensions menu and on its own toolbar.
Step 2: open the render window
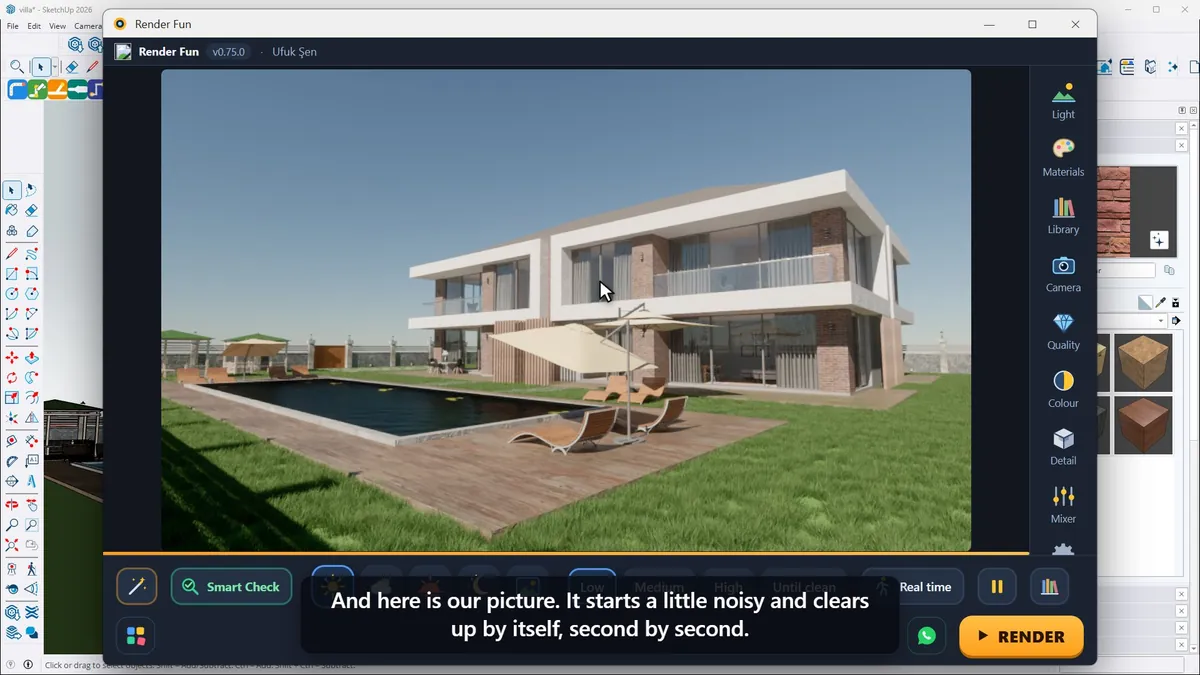
The orange circle on the Render Fun toolbar opens the render window; you can also use Extensions › Render Fun › Render Fun window. The first time, Render Fun reads the model and prepares your graphics card, which happens only once. Then the picture appears: a little noisy at first, it clears up by itself second by second. All the work happens on your own graphics card, inside SketchUp.
The camera is SketchUp’s camera: orbit, pan or zoom in SketchUp and the picture follows at once.
Step 3: pick the weather and the quality
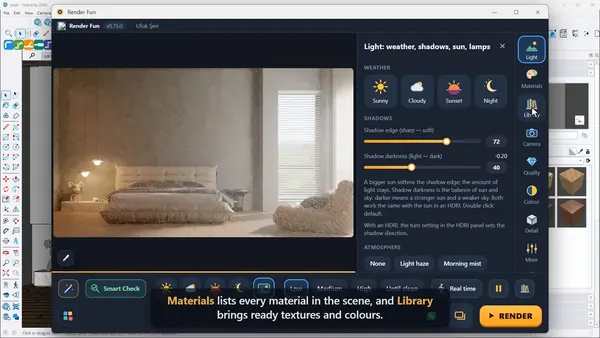
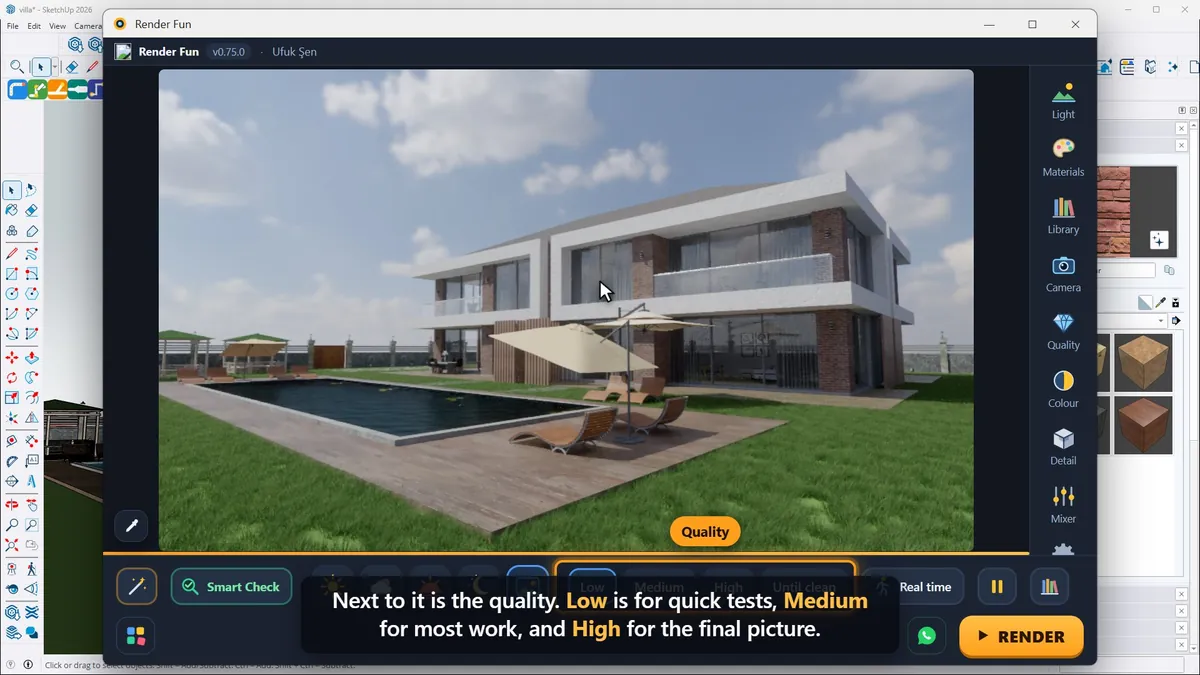
Along the bottom bar are the weather buttons: Sunny, Cloudy, Sunset and Night, and a fifth one for an HDRI, a real sky photo for natural light and clouds. One click changes the whole mood. Next to them is the quality: Low for quick tests, Medium for most work and High for the final picture.
Step 4: press RENDER and save
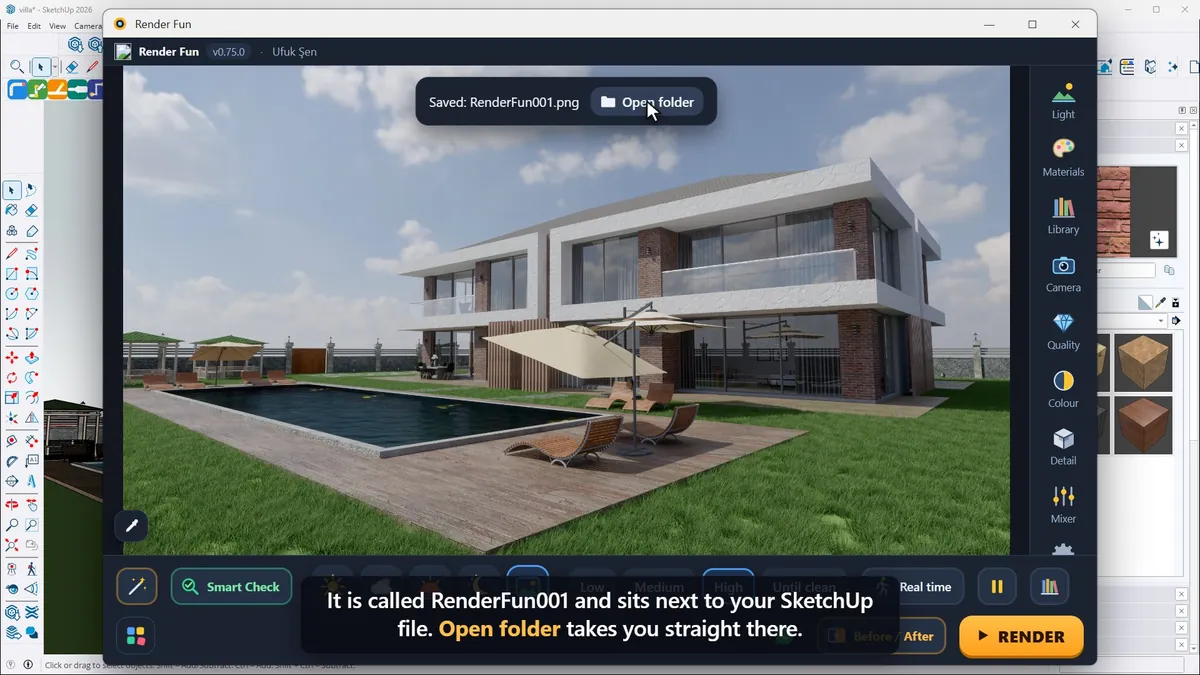
When you like the view, press RENDER, or simply R on the keyboard. "Good enough, save" keeps the picture at any moment and "Stop" leaves without saving; the bar shows the progress and the time left. At the end the AI denoiser removes the last bit of noise and the picture is saved as RenderFun001 next to your SketchUp file; "Open folder" takes you straight there.
Next: Lesson 2, a tour of the Render Fun window.
Frequently asked questions
Which SketchUp versions can I install Render Fun on?
SketchUp 2021 to 2026 on Windows; 2023 or newer gives the best result.
Where is my render saved?
Next to your SketchUp file as RenderFun001, RenderFun002 and so on; "Open folder" opens it.
- 1. Install and first render
- 2. The interface: what is where
- 3. Camera and composition
- 4. Sun, sky and HDRI
- 5. Materials
- 6. Lights and the light mixer
- 7. Quality, noise and resolution
- 8. Colour, detail and final look
- 9. Plants, water and atmosphere
- 10. Final output and workflow