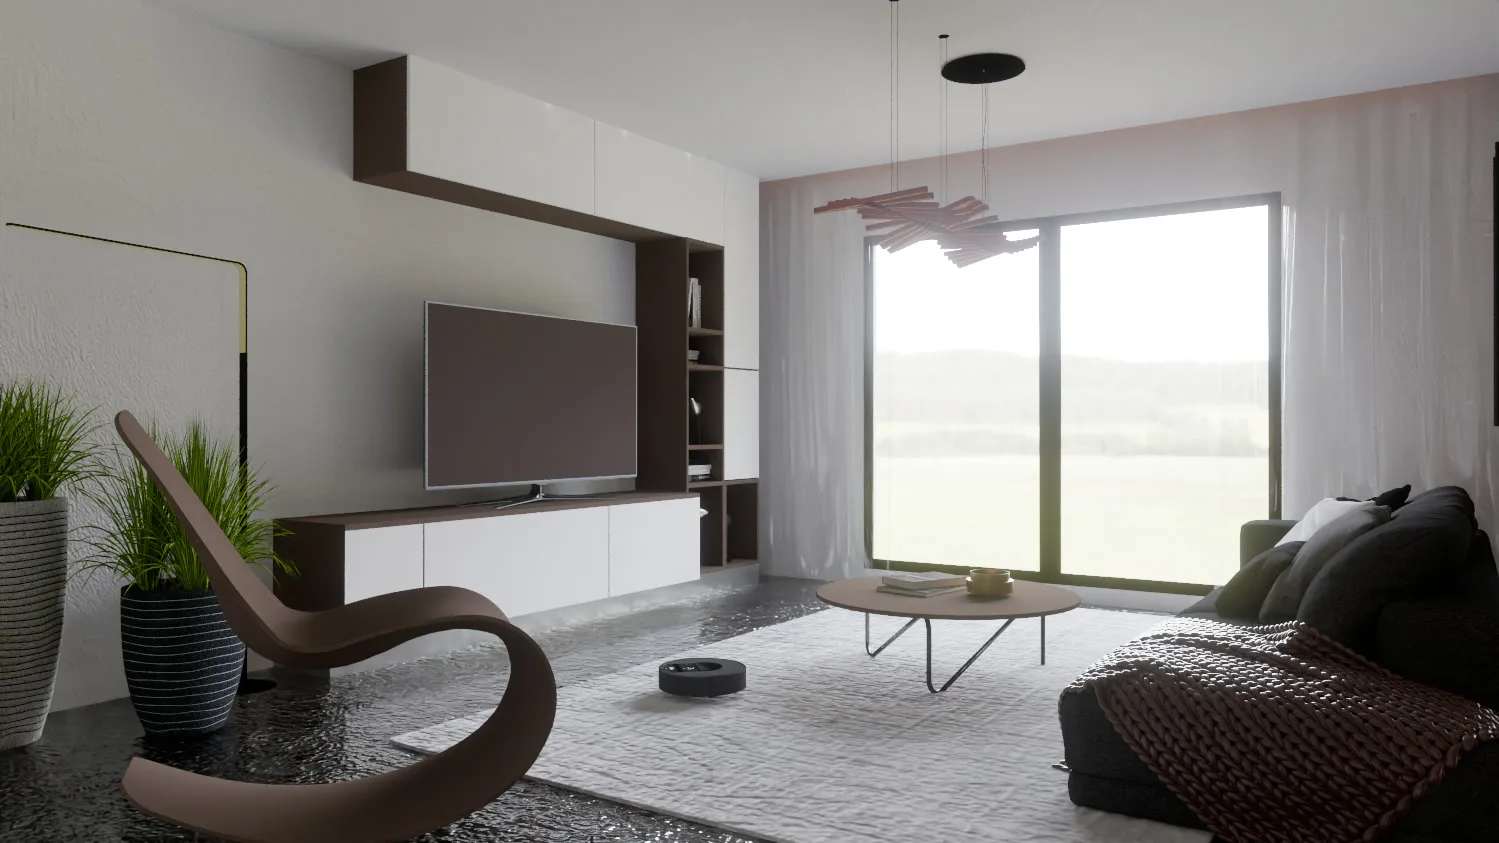
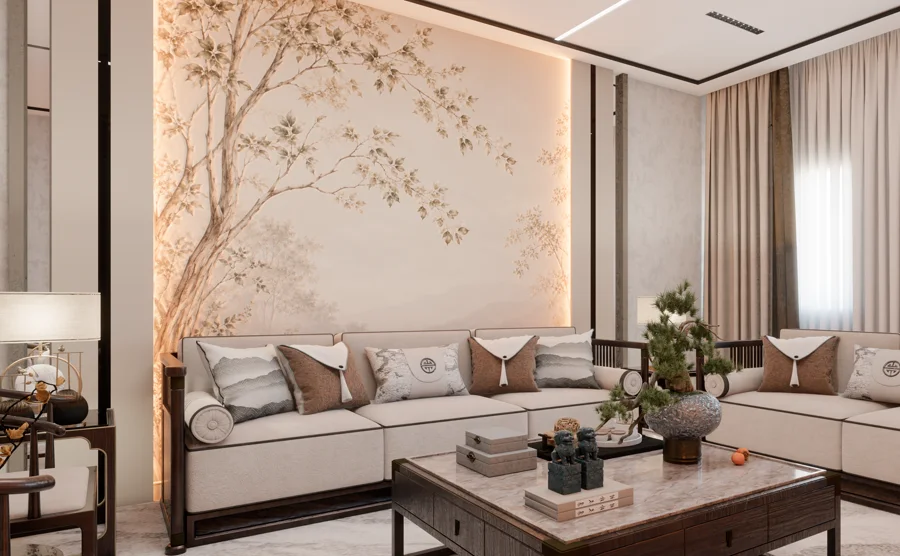
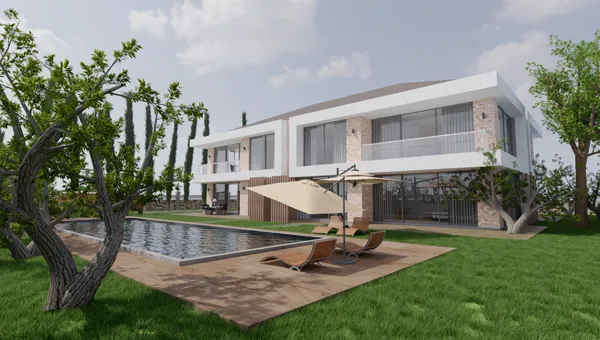
The Best Render Fun Settings: A Workflow for Clean, Photo-Real SketchUp Renders
Good renders come from a good order, not from a hundred sliders. These are the settings that matter in Render Fun, in the order that saves the most time: test small and fast, decide, then render big and clean.
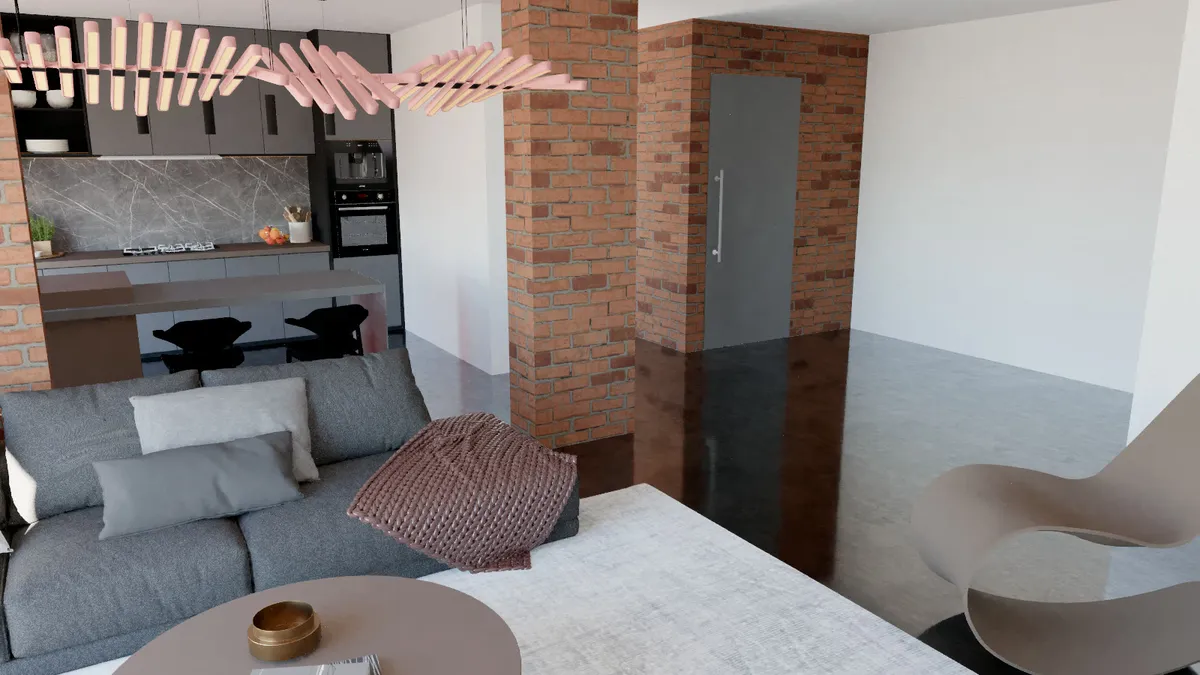
Step 1: Smart Check and a ready scene
Start with Smart Check, the green button on the bottom bar: it finds what would slow or spoil a render, such as leftover lights and proxies from other render engines, empty groups, duplicates, oversized textures, reversed faces and "glass" that is opaque, and fixes what you tick in one undoable step. Then press the orange Ready scene button and pick Interior · day, Interior · night, Exterior · day or Exterior · sunset. Light, colour and detail are set in one press; your quality choice stays as it is.
Step 2: the right quality at the right time
- Low: a quick test while you compose; some fine noise may stay.
- Medium: enough for most work, and the one to check interiors with.
- High: for the final picture; it takes longer.
- Until clean: runs until the noise is gone; the cleanest and the longest.
The window always opens at Low; you raise it yourself. Keep the AI denoiser on (Windows) and keep "Fast indirect light" on: interiors clear up much faster. On graphics built into the processor, Low or Medium is the sensible range.

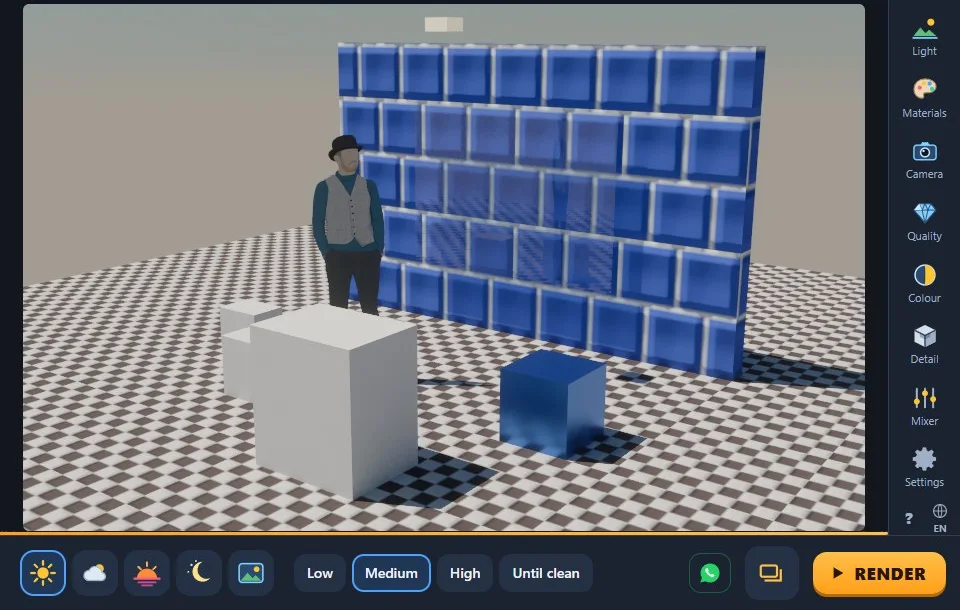
Step 3: sun, HDRI and lamps
- Sun: it follows SketchUp’s Shadows time and date; tick "Set the sun direction myself" for the compass and height, or drag the picture sideways to turn the sun. Sun power makes it stronger or weaker without touching the sky.
- HDRI: for the most natural light, use one of the 10 built-in environments or your own .hdr / .exr file; turn it, set its light, and choose an image, blurred or plain background.
- Lamps: night scenes need lamps. Add point, spot or panel lamps; set intensity, cone angle and size (bigger means softer shadows) and pick a light distribution, from downlight to wall washer or an IES file.
- Atmosphere: light haze, mist, fog or light beams add mood but make renders slower, so add them at the end.
- Mixer: balance sun, sky and lamps after the render, with no new render needed.
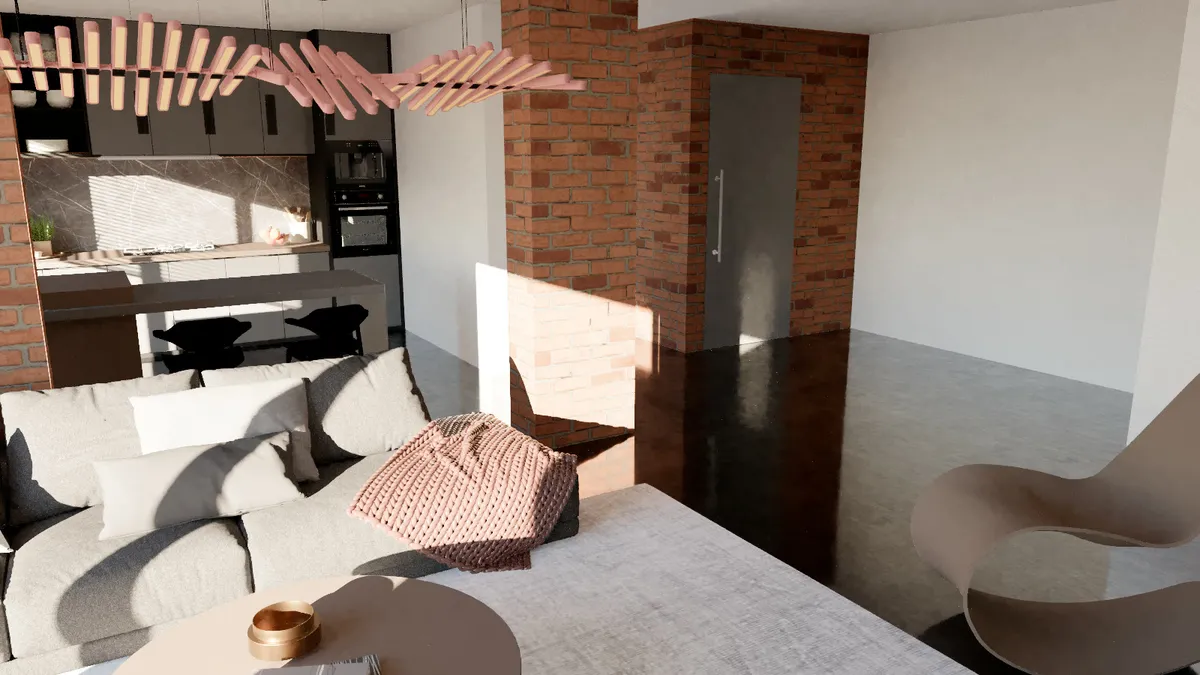
Step 4: materials that read right
Click a surface and pick its kind: matte, glossy, metal, glass, thick glass, mirror, water, light, shadow catcher, fabric, translucent or car paint. If glass looks solid, click it and choose Glass. A name such as "glass" or "emissive 200" in the SketchUp material name sets the kind for you, and Smart UV places a texture at its real size.
Step 5: colour and detail, without re-rendering
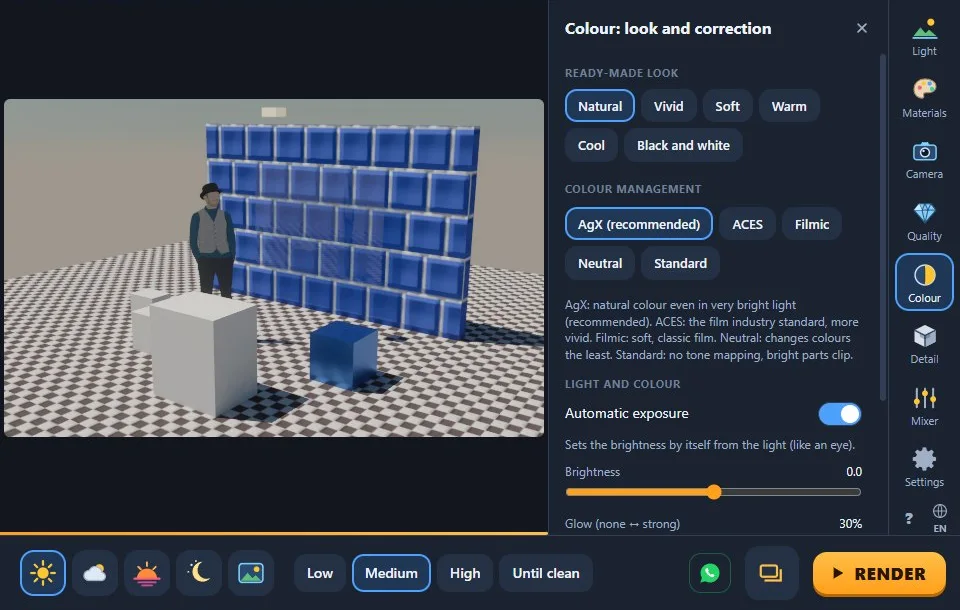
In the Colour tab, keep AgX colour management (recommended: natural colour even in very bright light), leave Automatic exposure on, and use Brightness, Warmth and Glow to taste. "Pick white point" fixes a colour cast in one click, and a ready-made look or a film filter finishes the mood. In the Detail tab, a light ambient occlusion adds depth to corners. None of these restart the render; they work on a finished picture too.
Step 6: camera, ratio and size
- Turn on "Straighten verticals" for architecture: building edges stay parallel even when the camera looks up or down.
- Use the rule-of-thirds grid and the horizon line to compose; they never appear in the saved render.
- For interiors a wider field of view of about 60–70° often works; for facades stay narrower.
- Pick a ratio: 16:9 for screens, 4:5 or 9:16 for social media, 21:9 for a cinematic look.
- Test small and render large at the end: HD, 2K, 4K or a custom size, saved as PNG or JPG, with a transparent background if you need one.
The whole workflow in one list
- Smart Check, then a ready scene.
- Frame the camera and save SketchUp scenes.
- Set the sun, HDRI and lamps, then the materials.
- Test at Low, check at Medium.
- Set colour and detail, render at High with the AI denoiser.
- Share it as a picture, a panorama or a video.
Frequently asked questions
What is the best quality setting in Render Fun?
Low while you compose, Medium to check, High with the AI denoiser for the final image, and Until clean when the picture must have no noise at all.
How do I get rid of noise in an interior render?
Keep the AI denoiser and Fast indirect light on, use Medium or High quality, and add lamps where the real fixtures are.
Which tone mapping should I use?
AgX is recommended for natural colour in bright light; ACES is more vivid, Filmic softer.