How to Render in SketchUp: From a Plain Model to a Photo-Real Image
The first time you try to render in SketchUp, it is easy to get lost in settings before you see a single good picture. It does not have to go that way. A good render comes down to six decisions, and they are the same in every engine: a clean model, a good camera, believable light, the right materials, enough quality and a saved file. Here they are in the order that saves the most time.

What do you need to render in SketchUp?
SketchUp models; a render engine calculates how light behaves in that model. So you need SketchUp on your computer and a render plugin. We use Render Fun in the steps below because it is free and works inside the SketchUp window, but the order of the steps applies to any engine. Not sure whether you need a plugin at all? Read whether SketchUp can render without one.
Step 1: clean the model before the first render
- Check reversed faces. Blue-grey back faces often show up as dark or wrong surfaces in a render.
- Remove what the camera does not see. Hidden furniture and leftover imports only slow things down.
- Keep walls thick and rooms closed. A zero-thickness wall with a gap at the corner lets light leak in.
Render Fun’s Smart Check does this pass with one button: it lists leftovers from other render engines, empty groups, duplicates, oversized textures and reversed faces, and one undo brings everything back.
Step 2: set the camera and save it as a scene
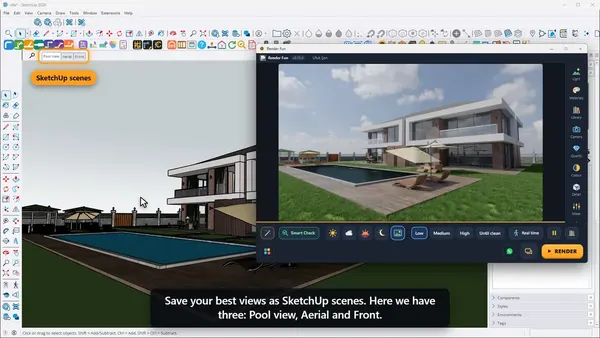
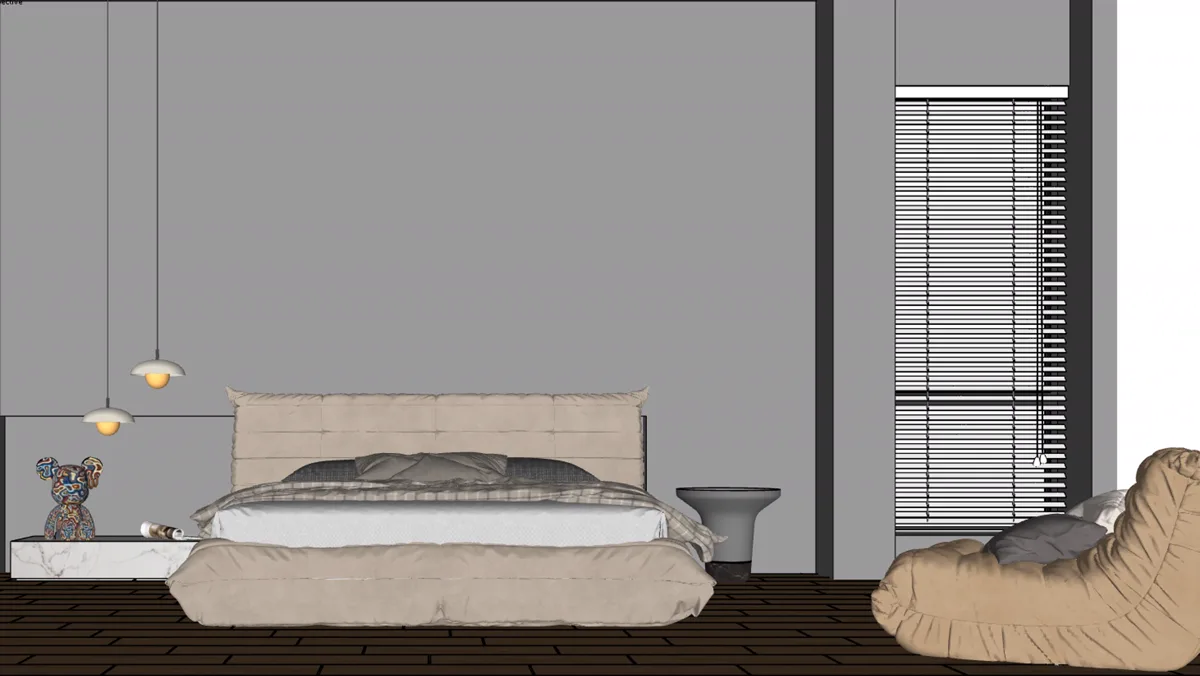
Stand where a person would stand, at eye height, instead of floating in the corner of the ceiling. Then save the view as a SketchUp scene so you can always return to it. For interiors, the angle matters more than people expect; our guide to the human field of view in SketchUp gives the numbers.
Step 3: open the render window and pick the light
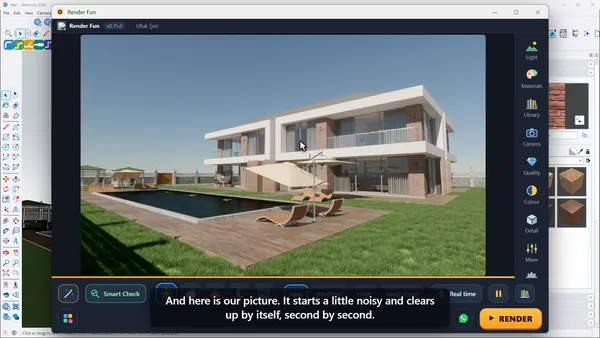
Press the orange circle on the Render Fun toolbar. The picture appears next to your model, slightly noisy at first, and clears up second by second. Choose Sunny, Cloudy, Sunset or Night; or start from a ready scene for an interior or exterior, by day or by night. Exteriors usually work with the sun alone. Interiors need more care: open the windows to daylight first, then add lamps only where they are needed.
Step 4: give surfaces real materials
A SketchUp colour is only a colour; a render material also says how a surface reflects and transmits light. Tell the engine what the important surfaces are: glass, metal, water, fabric, stone. Render Fun does this with one click per kind and has a texture library inside the plugin. Change the three or four biggest surfaces first; they make most of the picture.
Step 5: test small, then render big
This habit saves the most hours. Work on Low quality and a small size until the camera, light and materials are right. Only then switch to High and your final size, from HD to 4K. A long render of a wrong camera is the most expensive mistake in visualization.
Step 6: press RENDER and save
Press RENDER or R. “Good enough, save” keeps the picture at any moment, and the AI denoiser removes the last of the noise. The image is saved next to your SketchUp file as RenderFun001, RenderFun002 and so on. Colour and detail can still be adjusted afterwards without rendering again.
Why does my SketchUp render look bad?
- Too dark inside: the room needs more daylight or a brighter exposure before it needs more lamps.
- Looks like plastic: every surface has the same shine. Vary it between materials.
- Looks empty: real rooms have books, curtains and plants. Small objects sell the scale.
- Walls lean: turn on straight verticals for architecture.
Want it with screenshots? Start with Lesson 1: install and first render.
Frequently asked questions
Can beginners render in SketchUp?
Yes. With a ready scene and one press of RENDER you get a first image straight away, and you can learn the settings one at a time.
How long does a SketchUp render take?
It depends on the graphics card, the image size and the scene. Test at small size first; the bar shows the time left during the final render.
Can I render in the free web version of SketchUp?
Render plugins run in the desktop version of SketchUp. Render Fun needs SketchUp 2021–2026 on Windows.
Do I have to export my SketchUp model?
Not with Render Fun: it renders inside SketchUp, and the picture follows the model as you work.